Blueprint-free construction offers a liberating approach to crafting your ideal home bar, utilizing readily available guides and fostering a sense of creative freedom.
Simple PDF guides, like those from Bob’s Plans, empower woodworking beginners to build a functional bar without complex architectural drawings.
The Appeal of DIY Home Bars
DIY home bars represent more than just a construction project; they embody personalization and a sense of accomplishment. Building your own bar allows for complete customization, tailoring the design to perfectly match your space and style preferences.
The appeal lies in the creative control, bypassing expensive pre-fabricated options and embracing the satisfaction of handcrafted quality. Utilizing blueprint-free plans, even beginners can experience the joy of woodworking, transforming a vision into a functional and inviting centerpiece for entertaining.
It’s about creating a space that reflects you.
Why Choose Blueprint-Free Construction?
Blueprint-free construction democratizes the home bar building process, removing the intimidation factor often associated with detailed architectural plans. Simple PDF guides, such as those available from resources like Bob’s Plans, offer a streamlined approach, perfect for beginners.
This method emphasizes practicality and adaptability, allowing for on-the-fly adjustments and personalized modifications. It fosters a deeper understanding of the construction process, promoting confidence and skill development, while still achieving impressive results.
Sourcing Free Home Bar Plans (PDF)
Numerous online resources provide free home bar plans in PDF format, including Bob’s Plans, and various DIY project websites offering simple, downloadable guides.
Man Cave Forums also discuss readily available plans, facilitating a community-driven approach to finding suitable designs.
Bob’s Plans: A Starting Point
Bob’s Plans represent an excellent entry point for those venturing into blueprint-free home bar construction, particularly for beginners seeking a manageable project.
These plans offer a basic, small, dry bar design, intentionally uncomplicated to minimize challenges and build confidence. While not elaborate, they provide a solid foundation for understanding fundamental construction techniques.
Consider Bob’s Plans as a stepping stone; a practical exercise to familiarize yourself with the process before tackling more ambitious, customized designs. It’s a great way to gain experience!
DIY Project Plans & Simple Guides
The appeal of DIY project plans lies in their accessibility, offering a structured path to realizing your home bar vision without requiring extensive expertise.
These guides, often available as simple PDF downloads, prioritize clarity and ease of understanding, making the building process less daunting for novices.
The beauty of simplicity is its facilitation of progress, fostering a sense of accomplishment as your bar takes shape, empowering you to transform dreams into reality.

Essential Considerations Before You Start
Careful planning is crucial, even with blueprint-free builds; assess your space, establish a realistic budget, and gather necessary materials before commencing construction.
Space Assessment & Bar Dimensions
Before embarking on your project, meticulously evaluate the designated area for your home bar. Consider room size, traffic flow, and existing furniture placement to determine optimal dimensions.
Since you’re utilizing a blueprint-free approach, visualizing the bar’s footprint is key. Bob’s Plans offers a basic, small dry bar, ideal for limited spaces, serving as a helpful starting point for scaling.
Measure carefully, accounting for comfortable seating, access to storage, and potential additions like a sink or refrigerator. Accurate assessment prevents costly adjustments later.
Budgeting for Materials
Embarking on a DIY home bar requires a realistic budget. While blueprint-free plans offer cost savings by minimizing design expenses, material costs still need careful consideration.
Begin by listing all necessary components: wood, countertops, hardware, plumbing (if applicable), and finishing supplies. Research prices at local lumberyards and home improvement stores.
Remember that Bob’s Plans provides a foundation for a basic bar; modifications or upgrades will impact the overall cost. Allocate funds for unexpected expenses – a 10-15% buffer is wise.
Basic Bar Construction Techniques
Framing forms the bar’s skeleton, utilizing standard woodworking joints. Simple plans, like those found in PDF guides, emphasize straightforward assembly for beginners.
Focus on creating a level and stable base before tackling the bar top and other finishing elements.
Framing the Bar Structure
Framing is the foundational step, establishing the bar’s shape and stability. Utilizing 2×4 lumber is common, creating a rectangular or L-shaped base depending on your space.
Blueprint-free plans often suggest simple butt joints reinforced with screws, making it accessible for beginners. Ensure square corners using a speed square and level throughout the process.
Consider adding internal supports for larger bars to prevent sagging. Bob’s Plans, a starting point, demonstrates basic framing techniques suitable for a small, dry bar construction.
Creating the Bar Top
The bar top is the focal point, demanding both durability and aesthetic appeal. Plywood, typically ¾ inch thick, forms a solid base for laminate or solid surface materials.
Blueprint-free guides emphasize careful cutting and sanding for a smooth, professional finish. Overhang considerations are crucial, typically 1-2 inches, for comfortable seating.
Securely attach the top to the frame using screws and wood glue. Remember, a well-constructed top elevates the entire bar’s look and functionality, even with simple plans.
Material Choices for Your Home Bar
Wood options like pine and oak offer varying aesthetics and price points, while countertop materials range from affordable laminate to luxurious solid surfaces.
Selecting materials aligns with your budget and desired style, enhancing the bar’s overall character.
Wood Options: Pine, Oak, and More
Pine is a cost-effective and easily workable choice, perfect for beginners tackling blueprint-free builds, though it’s softer and prone to dents.
Oak, a hardwood, provides superior durability and a classic aesthetic, but requires more skill to cut and shape, increasing project complexity;
Other options include maple, cherry, or even reclaimed wood, each offering unique grain patterns and characteristics to personalize your home bar’s design.
Consider wood’s weight and stability when planning your structure, ensuring it can support the bar top and any added features.
Countertop Materials: Laminate vs. Solid Surface
Laminate countertops offer an affordable and versatile option, available in countless colors and patterns, ideal for budget-conscious blueprint-free projects.
However, laminate is susceptible to scratches and heat damage, requiring careful use and maintenance to preserve its appearance.
Solid surface materials, like quartz or granite, provide exceptional durability and a premium look, but come with a significantly higher price tag.
Consider the bar’s intended use and your budget when selecting a countertop, balancing aesthetics with practicality.
Essential Bar Components
Shelving and storage are crucial for organizing glassware and bar tools, while a foot rail enhances comfort and defines the bar’s space.
These elements, easily incorporated into blueprint-free designs, elevate both functionality and the overall aesthetic appeal.
Shelving and Storage Solutions
Effective shelving is paramount in any home bar, maximizing vertical space for displaying bottles and glassware. Blueprint-free plans allow for customized shelving depths and heights, adapting to your collection.
Consider open shelving for frequently used items and enclosed cabinets for a more refined look. Integrating wine racks or specialized compartments adds functionality. Simple DIY guides often showcase clever storage solutions, like repurposed crates or floating shelves, enhancing both style and practicality without needing detailed blueprints.
Foot Rail Installation
A foot rail adds comfort and a classic bar aesthetic, defining the seating area. Blueprint-free construction simplifies installation, often involving mounting a rail to the bar’s front frame.
Secure attachment is crucial; use sturdy brackets and appropriate screws for your bar’s material. Height should allow comfortable foot resting without obstructing movement. Many DIY guides demonstrate straightforward mounting techniques, eliminating the need for complex plans, ensuring a polished and inviting bar experience.
Adding Functionality: Plumbing & Electrical
Plumbing for a sink and electrical for lighting enhance your bar’s usability; careful planning is key, even with blueprint-free designs.
Consider professional help for these aspects to ensure safety and code compliance.
Sink Installation (If Applicable)
Integrating a sink into your DIY home bar adds significant convenience, enabling easy cleanup and drink preparation. However, blueprint-free plans require meticulous attention to plumbing connections.
Ensure proper drainage and water supply lines are accessible, potentially involving modifications to existing plumbing. Consider the sink’s size relative to your bar’s dimensions and countertop space.
Professional plumbing assistance is strongly recommended for safe and compliant installation, especially if you lack prior experience. Careful planning prevents costly mistakes!
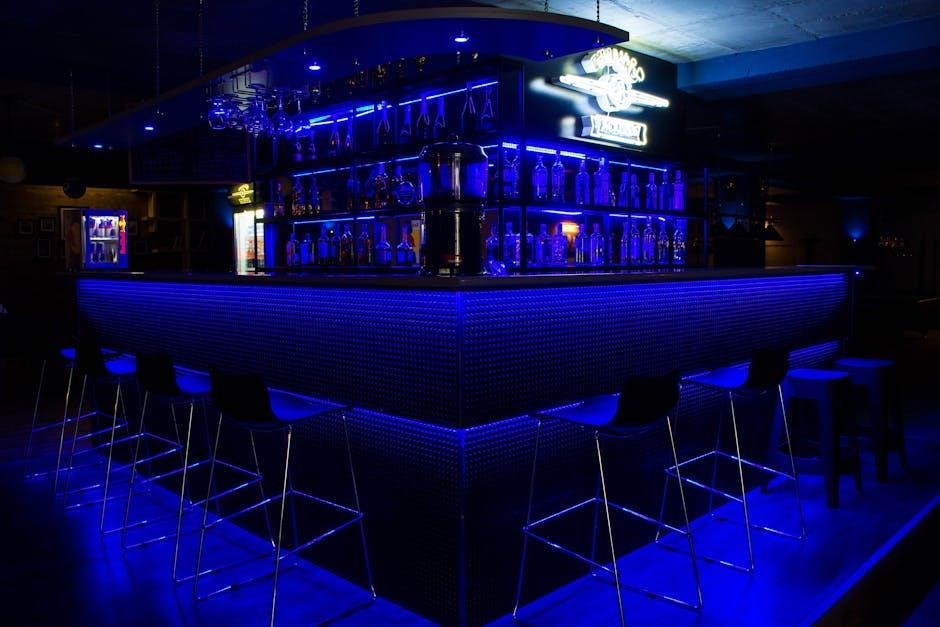
Lighting Options for Your Bar
Effective lighting dramatically enhances the ambiance of your DIY home bar, creating a welcoming and stylish atmosphere. Blueprint-free construction allows for flexible lighting integration.
Consider under-cabinet LED strips for task lighting, highlighting the bar top and work areas. Recessed lighting provides general illumination, while pendant lights above the bar add a focal point.
Plan electrical outlets strategically during construction. Dimmers offer control over light intensity, setting the mood for any occasion. Safety first – consult an electrician!

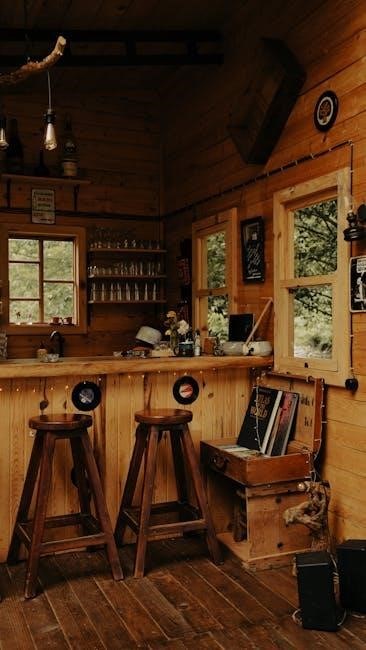
Finishing Touches & Aesthetics
Personalization is key! Select bar stools complementing your design and add decorative elements reflecting your style, completing your blueprint-free bar.
These final touches transform a functional space into a unique and inviting entertainment hub.
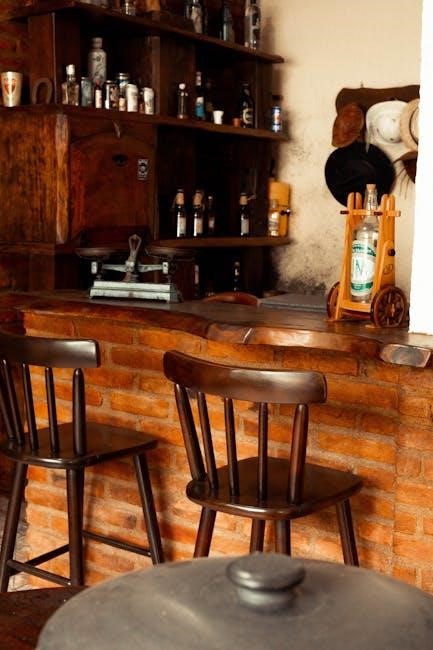
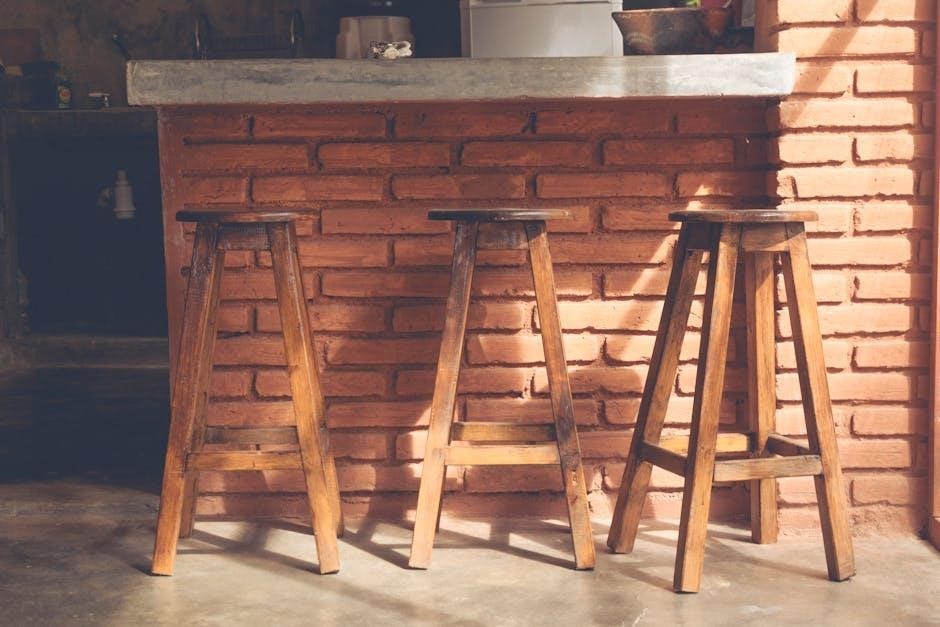
Bar Stool Selection
Choosing the right bar stools is crucial for both comfort and aesthetics, significantly impacting the overall enjoyment of your blueprint-free home bar.
Consider stool height relative to your bar top – standard heights range from 24 to 30 inches.
Styles vary widely, from classic wood to modern metal and upholstered options, allowing you to match your bar’s theme.
Prioritize comfort with features like backrests and footrests, especially for extended use. Don’t underestimate the impact of a well-chosen stool!
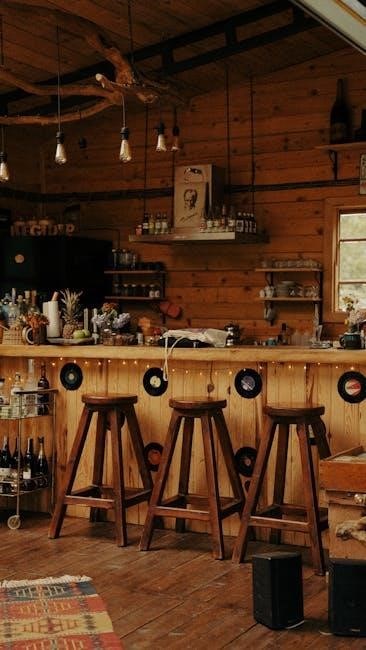
Decorative Elements & Personalization
Personalization transforms a functional bar into a reflection of your style, elevating the entire experience beyond simple construction from blueprint-free plans.
Incorporate themed décor – vintage signs, bottle collections, or sports memorabilia – to create a unique atmosphere.
Lighting plays a key role; consider accent lights, neon signs, or even string lights for ambiance.
Don’t forget finishing touches like glassware, cocktail shakers, and personalized coasters to complete the look!
Troubleshooting Common DIY Bar Issues
Addressing structural weaknesses or uneven surfaces is common in DIY builds; careful leveling and reinforcement are crucial for a stable, enjoyable bar.
Dealing with Uneven Surfaces
Uneven floors are a frequent challenge in DIY bar construction, especially when working blueprint-free. Shimming the bar’s base is a simple solution, utilizing thin pieces of wood or plastic to level the structure.
For significant discrepancies, consider adjustable feet, readily available at hardware stores, offering precise height control. Regularly check for stability, ensuring the bar doesn’t wobble, and re-shim or adjust as needed to maintain a perfectly level surface for drinks and enjoyment.
Addressing Structural Weaknesses
Blueprint-free builds sometimes reveal unforeseen structural vulnerabilities. Reinforce joints with metal brackets or corner braces, adding significant stability to the bar’s frame.
Employ wood glue in conjunction with screws for stronger bonds, and consider adding a back panel to the bar for increased rigidity. Regularly inspect the structure for any signs of stress or movement, proactively addressing weaknesses before they escalate into larger issues, ensuring a safe and durable bar.
Resources for Further Inspiration
Man Cave Forums provide a vibrant community for sharing ideas and troubleshooting, while DIY guides offer step-by-step assistance for your project.
Explore online resources to discover diverse designs and gain valuable insights from fellow DIY enthusiasts.
Man Cave Forums & Online Communities
Man Cave Forums are invaluable resources, brimming with experienced DIYers eager to share their knowledge and offer guidance on blueprint-free bar construction.
These online communities provide a platform to discuss challenges, showcase completed projects, and find inspiration for your own home bar design.
Specifically, discussions often revolve around simplifying framing and building techniques, proving that detailed plans aren’t always necessary for success.
Engage with fellow enthusiasts to unlock creative solutions and gain confidence throughout your build!
Step-by-Step DIY Guides
Numerous step-by-step DIY guides, often available as downloadable PDFs, cater specifically to woodworking beginners seeking to build a home bar without formal blueprints.
These guides prioritize simplicity, breaking down the construction process into manageable stages, ensuring a smooth and rewarding experience.
They emphasize the beauty of a straightforward approach, fostering a sense of accomplishment as your bar takes shape, proving complex plans aren’t essential.
Detailed instructions empower you to bring your dream wooden bar to life!
Safety Precautions During Construction
Prioritize safety by utilizing proper tool usage and always wearing recommended protective gear throughout the entire construction process of your blueprint-free bar.
Proper Tool Usage
Employing tools correctly is paramount when undertaking a blueprint-free home bar project. Familiarize yourself with each tool’s manual before operation, understanding its intended function and safety features.
Always inspect tools for damage before use, and never modify them. Securely fasten workpieces before cutting or drilling, and maintain a clean, organized workspace to prevent accidents.
Remember, a well-maintained and properly used tool is a safe tool, contributing to a successful and enjoyable DIY experience.
Protective Gear Recommendations
Prioritizing safety during your blueprint-free bar build necessitates appropriate protective gear. Always wear safety glasses to shield your eyes from flying debris, and a dust mask to prevent inhalation of wood particles.
Hearing protection is crucial when operating power tools, and work gloves will safeguard your hands from splinters and abrasions.
Sturdy footwear is also essential, providing stability and protecting your feet from dropped objects. Remember, safety isn’t optional – it’s fundamental.
Maintaining Your Home Bar
Regular cleaning and preventative maintenance are key to preserving your DIY bar’s beauty and functionality for years to come, ensuring lasting enjoyment.
Simple upkeep prevents costly repairs and keeps your creation looking its best.
Cleaning and Upkeep
Consistent cleaning is paramount for a hygienic and inviting bar area. Wipe down surfaces – especially the bar top – after each use with a damp cloth and mild cleaner;
For wood finishes, avoid abrasive cleaners that could damage the protective coating. Periodically dust shelves and decorative elements to prevent buildup. Address spills immediately to avoid staining or warping.
Regularly inspect the foot rail for stability and tighten any loose screws. A little preventative care extends the life of your handcrafted bar!
Preventative Maintenance Tips
Regular inspections are key to avoiding costly repairs. Check for loose screws in the framing and tighten as needed, ensuring structural integrity over time.
Monitor the bar top for signs of wear and tear, reapplying sealant or finish as necessary to protect against spills and scratches. Inspect shelving supports for stability.
Address minor issues promptly – a small crack or loose joint can quickly escalate. Proactive maintenance preserves your DIY bar’s beauty and functionality for years!


0 Comments